Why?
I choose to build a hockey stick because I love the game of hockey and I wanted something to remember it by because it has done so much for me in my life. This stick will not be for use because I break a lot of sticks. I want it to last forever so it is just going to be a display piece but have everything a old wooden stick would have.
Sketches and Brainstorming
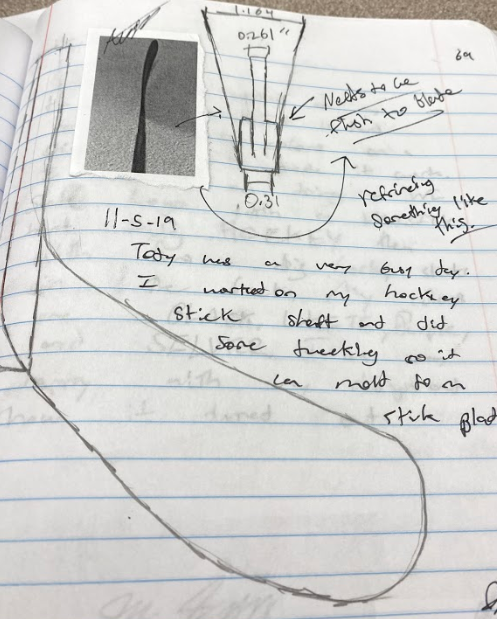
I watched several videos of people trying to make their own hockey sticks at home. Mostly DIY videos that have many short cuts, very little measuring, no curve in the blade, all basics sticks. I dug a bit deeper and learned how productions sticks are made. Some are done by glue blades into a mold and making a simple shaft. Other companies use steam bending and some fiberglass. I decided to follow the mold process using thin sheets of wood and glue to make a curves blade. Here are some basic sketches and what kind of stick I want to follow.
|
|

|
|
Blade
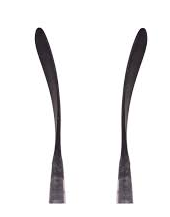
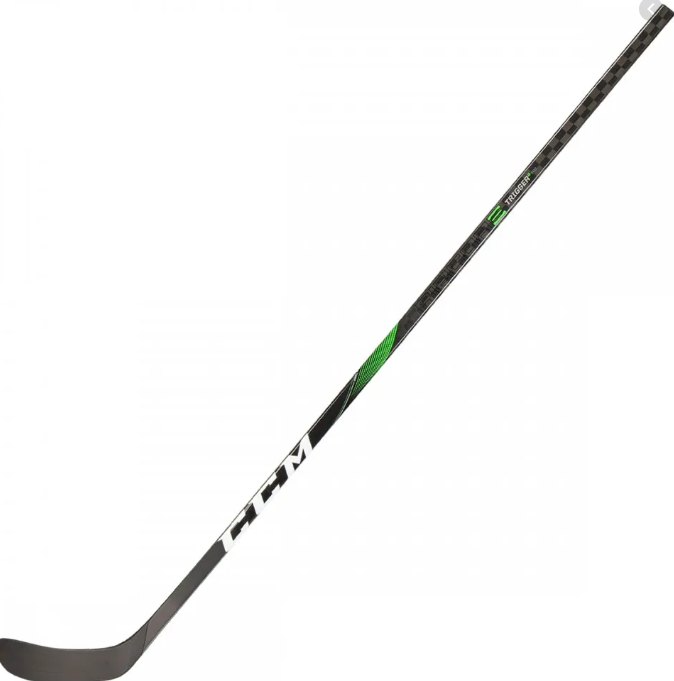
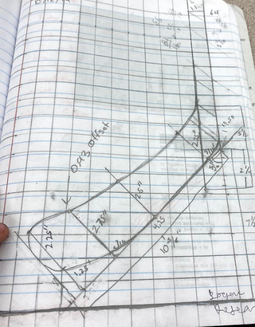
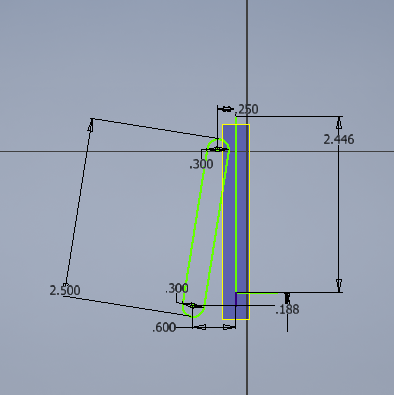
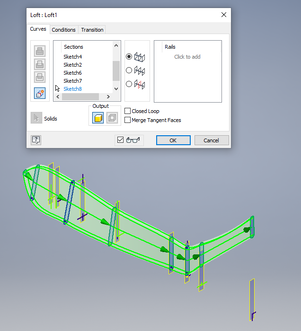
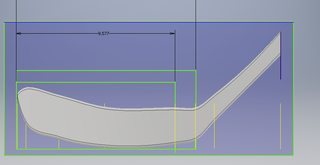
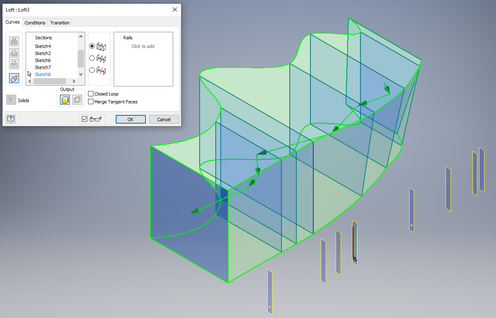
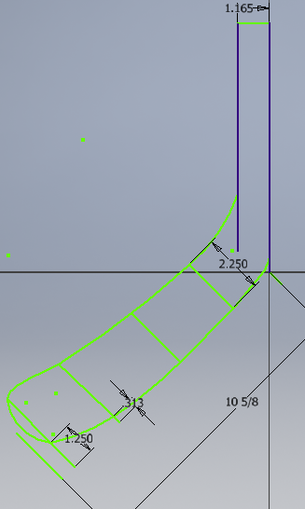
This 1/2 scale drawing of my favorite stick I have ever owned. I knew that the shaft will be the easy part of the project the blade will be the most time consuming. This scale is 2D sketch of a P29 Crosby curve made by CCM on a Tigger 3D. These measurements will help me construct a stick on inventor. As you can see I made several small sketches of the stick and then used the loft tool to merge every sketch together creating the curve on the blade.
|
|
|
|
|
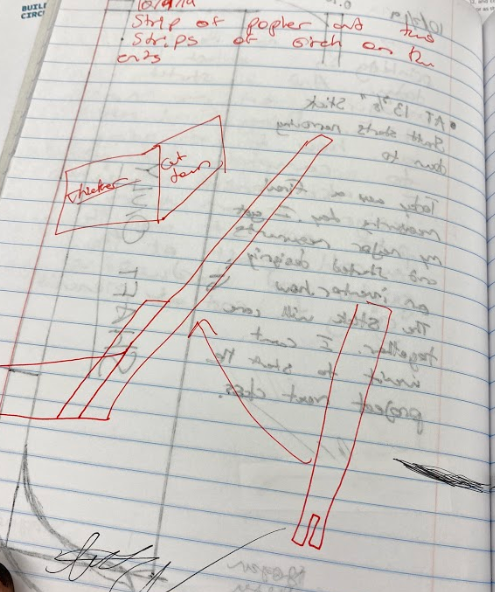
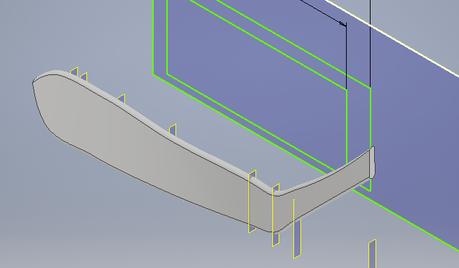
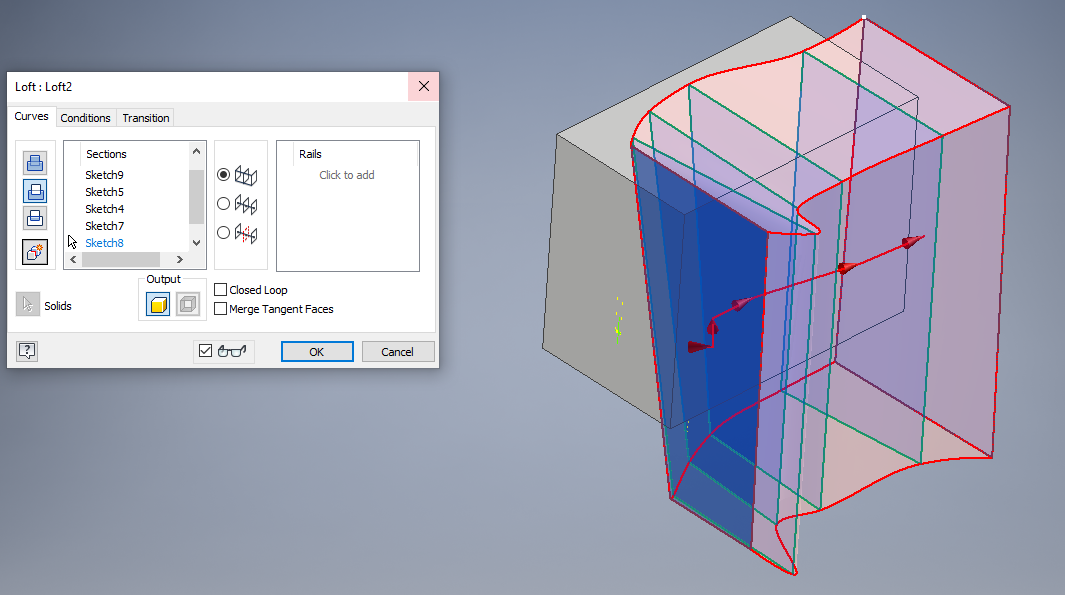
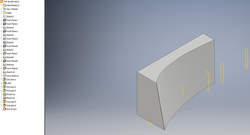
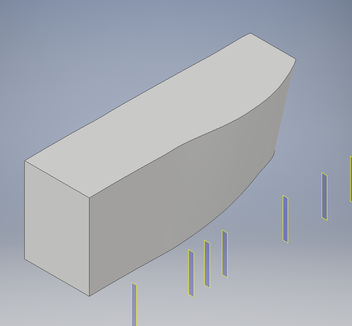
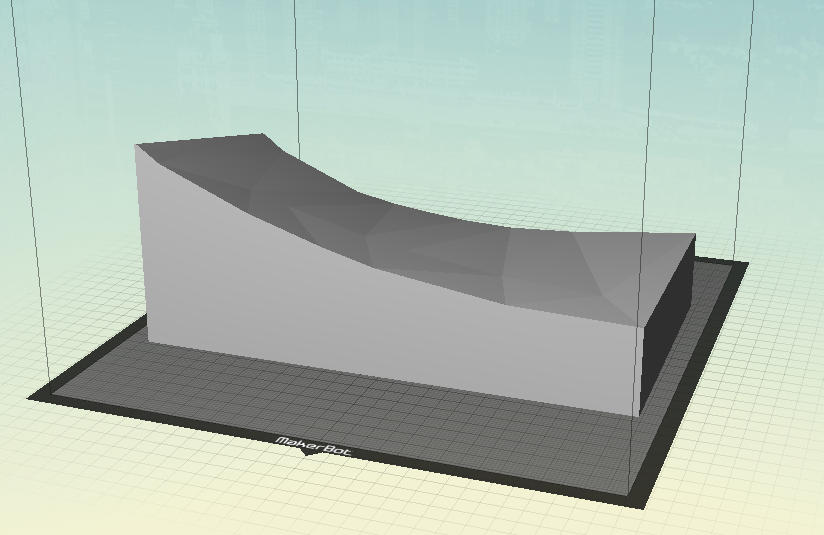
After knowing that my plan in my head works using the loft tool to create the curve of a P29 curve, I started to experiment how I was going to make a two part mold that will clamped together to force the wood into a curve. I made many copies of the full stick blade and used both outside edges that formed the front and back of the stick to make the faces of the curve. With advice from Mr. W and Mr. Schu I created a mold on inventor that will fit on the big 3D printer. I had to create a box to the right dimensions that will fit the entire blade. Then I had to use the loft tool to cut out part of the box to create the top and bottom mold.
|
|
|
|
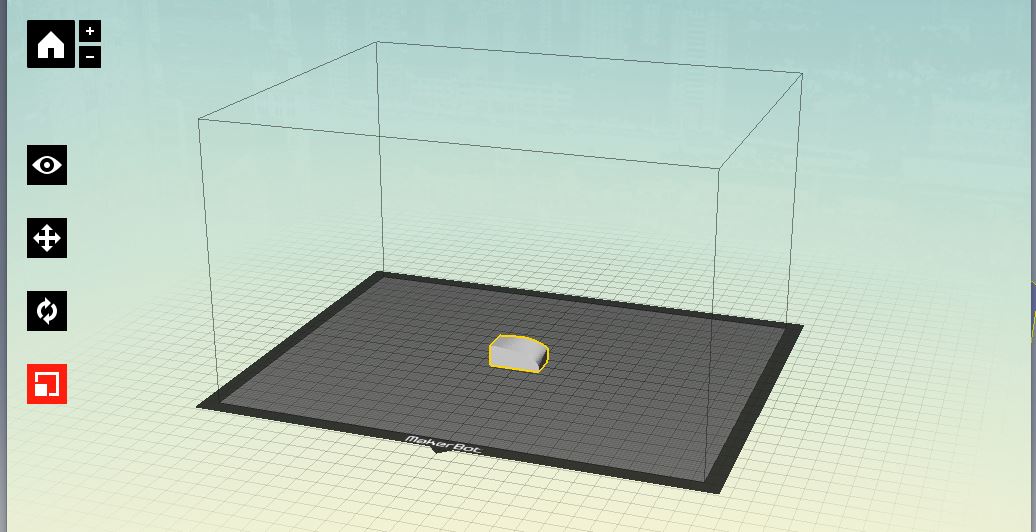
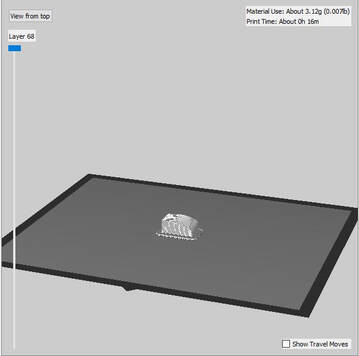
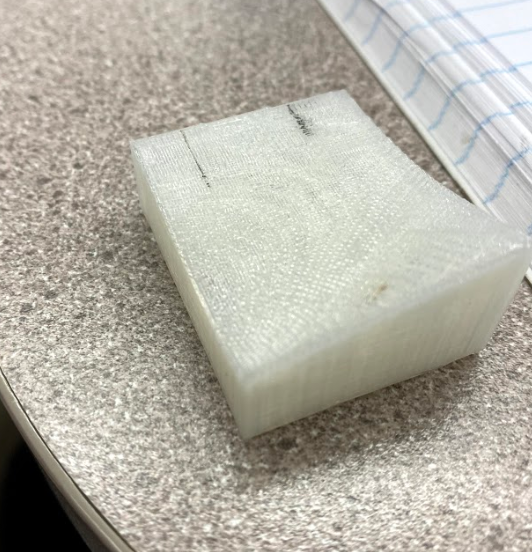
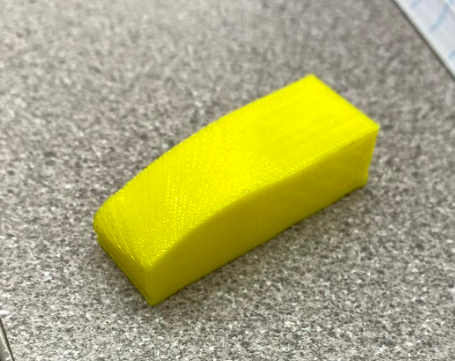
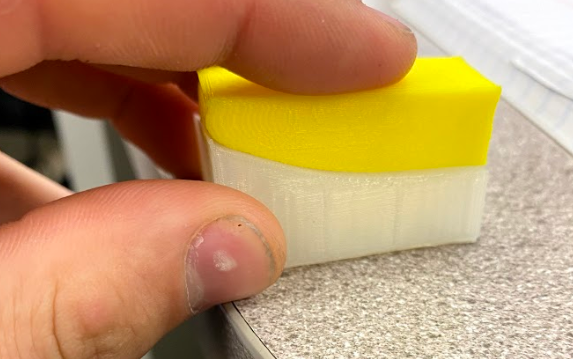
At this point designing the molds for the blade took about half the semester and it was time to test my designs. When I was in makerbot, I uploaded both top and bottom molds and printed them at 1/10 scale to see if the curves matched.

|

|
|
|
|
|
|
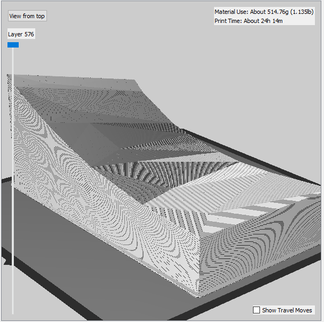
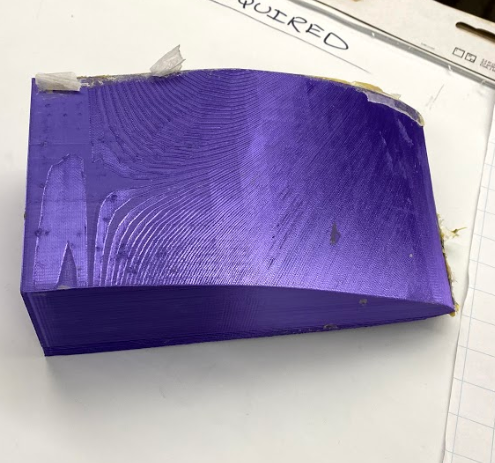
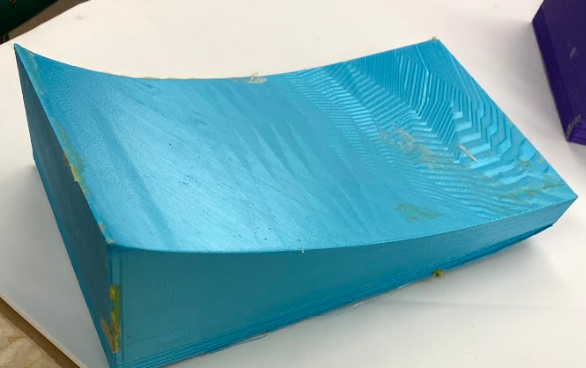
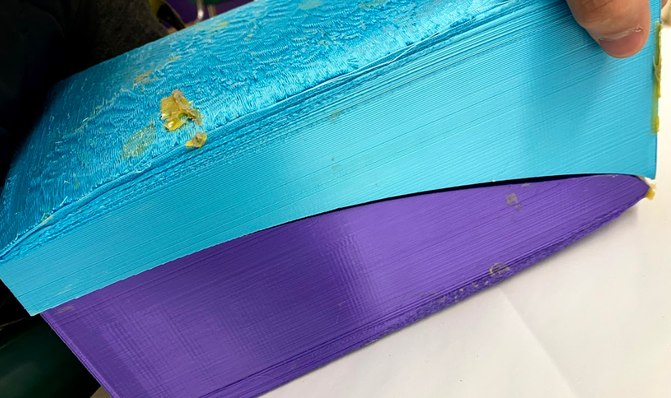
The tenth scales were successful and I went on to printing both top and bottom molds.
|
|
|
|
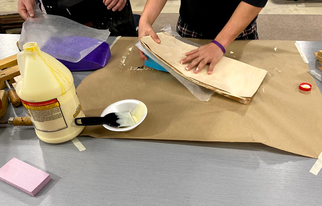
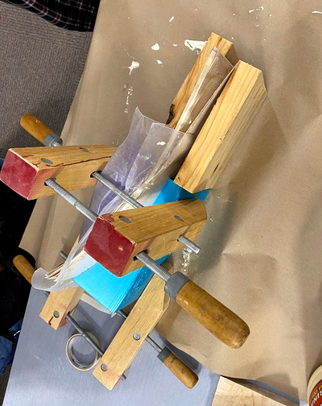
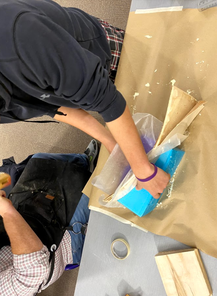
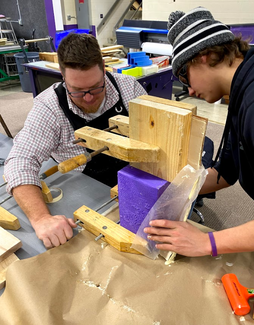
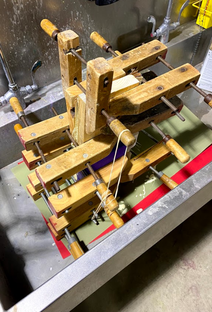
After the molds were done printing I got ready for gluing. I cut the sheets of wood to the right size. I had 8 sheets and glued every side. After a gluey mess, Mr. W and Mrs. Proctors help, about 2 dozen clamps, my stick blade was in the drying process.
|
|

|
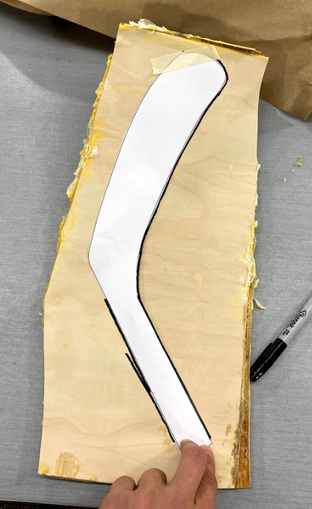
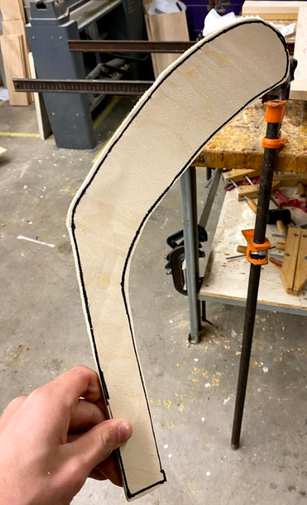
5 days later I released all the clamps and a big gluey curved piece of wood was made. After cutting off all the bad edges of the board I went back to inventor and made a 2D cutout of the blade that I will glue on the board to cut out the stick on the band saw.
|
|
|
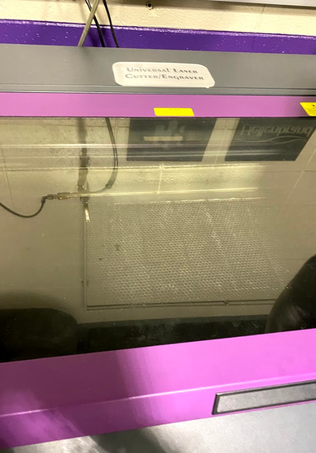
The second machine I am going to use is the laser and create a indent of my initials on the blade and then fill it with white paint that will match the decals.
|
|
Shaft
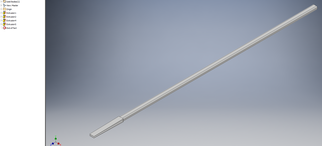
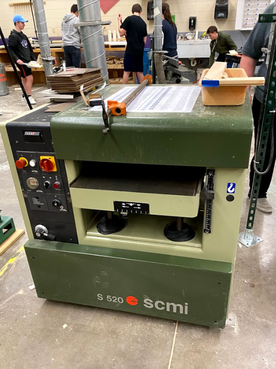
When the molds were printing I worked on the shaft of the stick on Inventor. First planning on cutting out the shaft with the CNC router I relized to take use the planner and chop saw to save time in the long run. So, off to the woods shop it was.
|
|
|
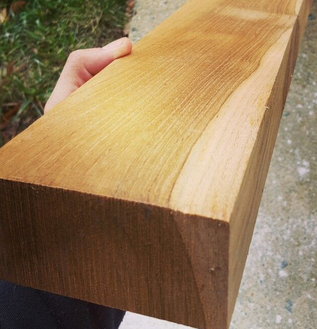
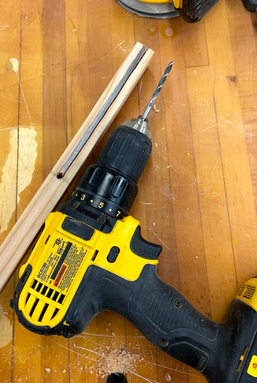
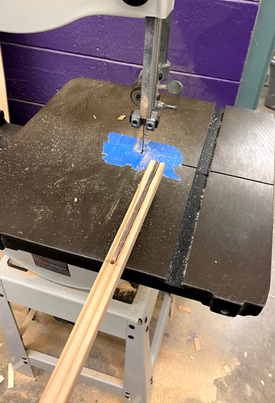
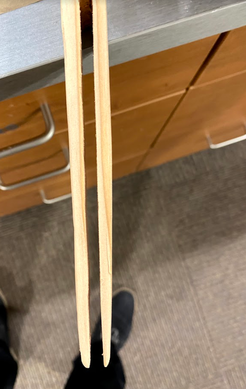
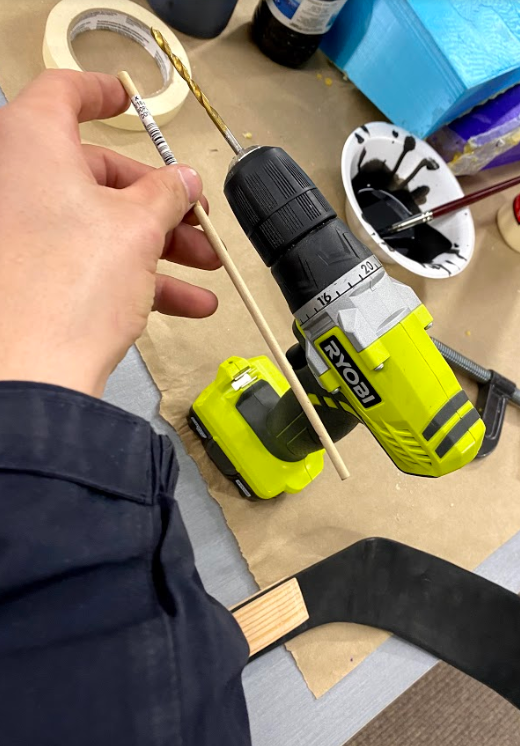
I bought a 2x4 from ACE Hardware and tried picking out the best board with the least amount of knots and the straightest. I took it into the woods shop and used the plainer, chop saw, a cordless drill with drill bits, and the bandsaw to create the slit in the shaft for the blade to slit into.
|
|
|
Assembly
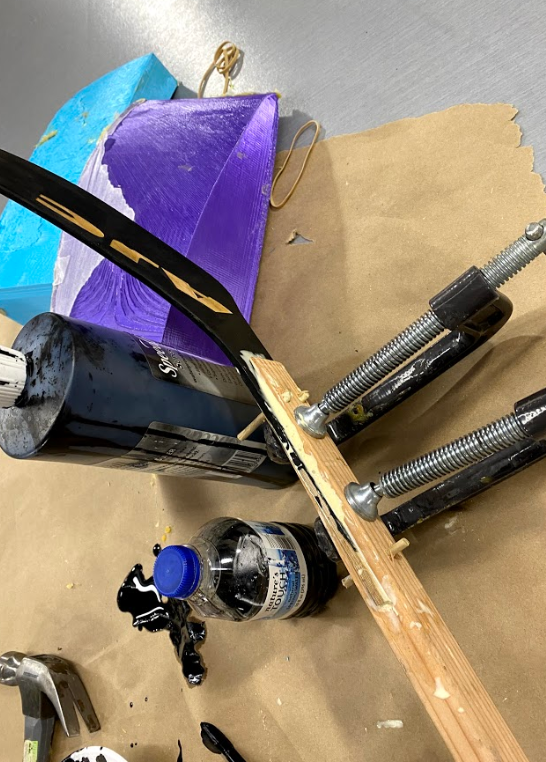
I knew that the glue process of the blade and the stick is the most important part because if I get it wrong the blade could be crooked or have a week bond and break. So, I used some wooden dowels to go through the complete shaft and stick to secure the blade in place when gluing and also so it has more strength.
|
|
|
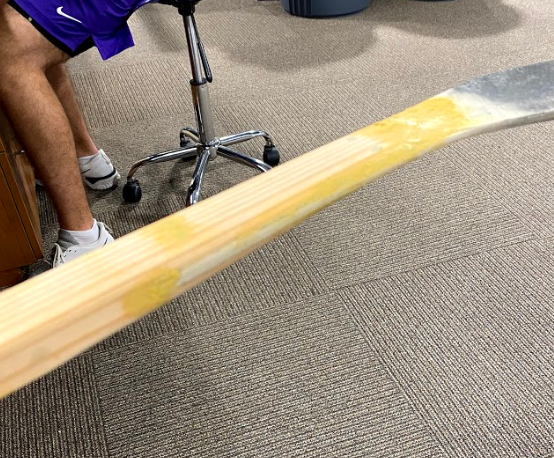
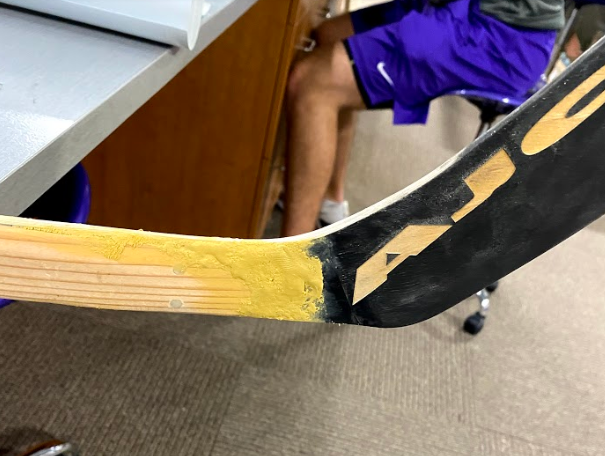
Wood Filler and Sanding
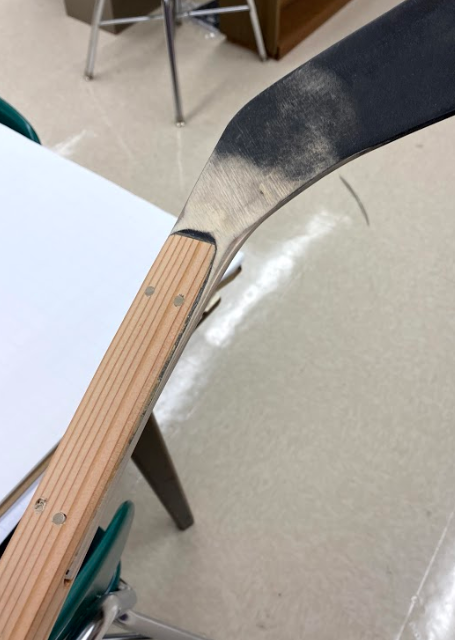
I didn't want to sand away too much material to make the blade and shaft flow together so I decided to add wood filler to and sand that down to make the stick and blade flow nicely together to try and cover up the dowels, slot, and any other mistake.
|
|
|
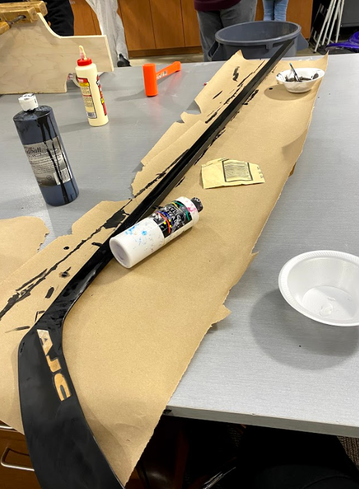
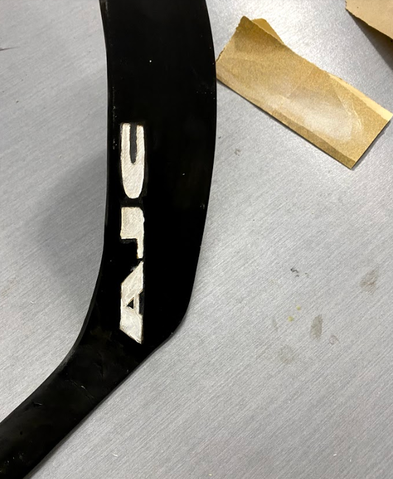
Paint
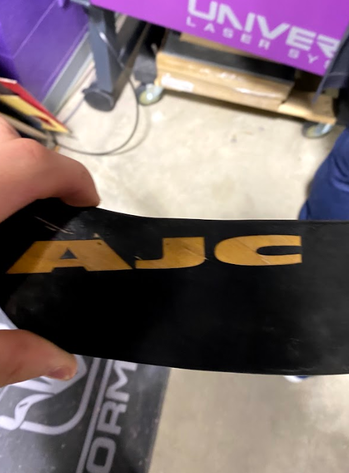
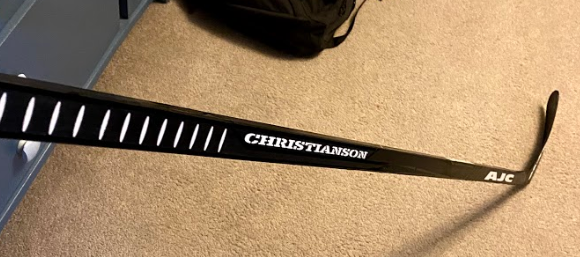
I used several coat of black ink but it didn't quite show up as nice as I wanted so I switched to black paint and it turned out good. Also painted the AJC white on the blade
|
|
Decals
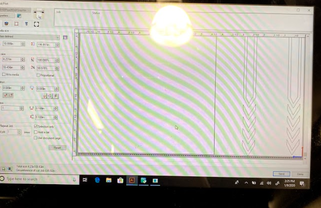
I decided to have my stick to be mine. I wanted it to be as custom as possible. So I created my own decals and decided to paint the stick matt black and have most of the decals black but with white text. Mrs. Proctor the expert of Adobe Illustrator helped me a lot. Showing the in and out of adobe to create the best design for my stick.
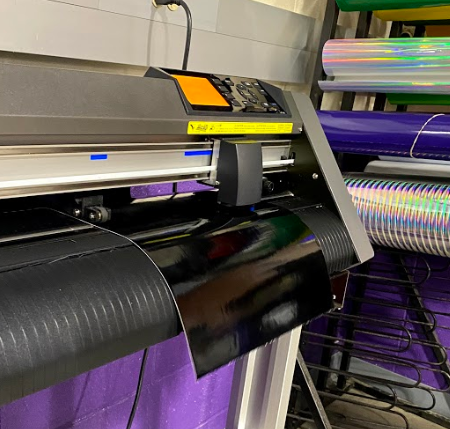

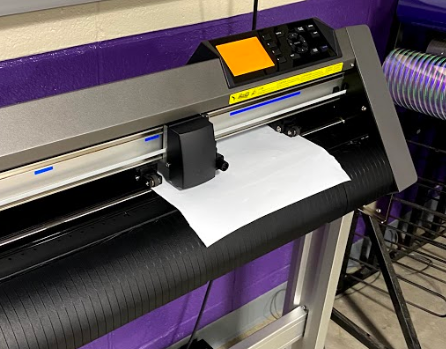
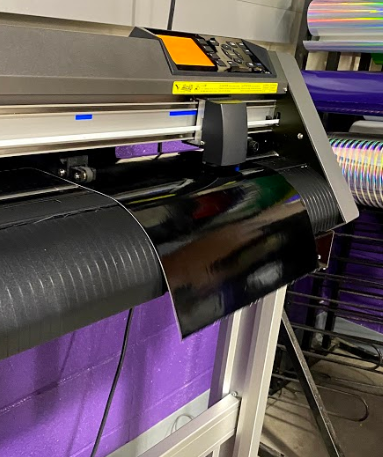
I downloaded them to my flash drive and went to the vinyl cutter
|
|
|
I didn't get any photos of my transferring or applying the decals because that process took a lot of patience and is very time consuming to try and apply the decals and best as I could. It took me a whole class period to get the decals transferred to transfer tape and another whole class period to apply every little decal.
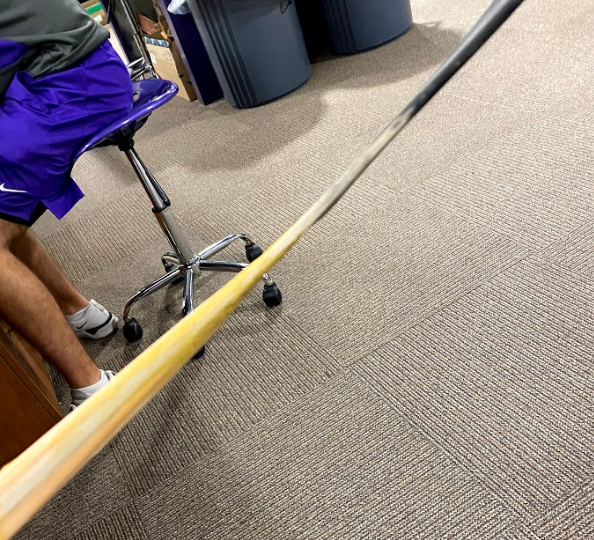
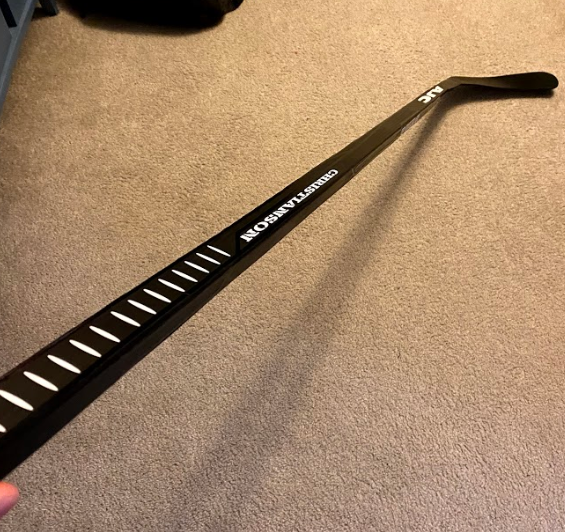
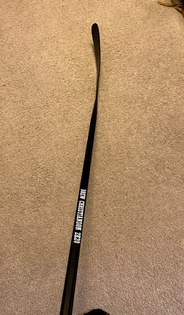
Final
|
|
This project was a journey, I has some times where I was second guessing myself of what I got myself into. I also had times where I was shocked of what I did. Throughout this journey I learned a lot just by building a hockey stick.
When I was building my blade molds on inventor I came across many bumps and setbacks. The task I was trying to do was something I have never done before. I had to do a lot of research to try to create my blade. I learned how to use tools in different ways then they I was shown in videos and descriptions. The main tool that was key in my molds was the loft tool. It allowed you to make a shape that merged to sketches and I used that tool to cut away two faces that have the curvature of a hockey stick.
In Adobe Illustrator I was introduced to some new tools and Technics from Mr. Proctor. Without her guidance my decals would not be a well constructed as they would be. She showed me how to use the paintbrush tool and the pen with the notepad witch made my become all one piece and not a bunch of small rectangles over lapping and having to relay every one onto the stick.
The most important thing I learned this semester is almost anything is possible in the innovation center. I had times in inventor where I didn't think my task was possible. But there is always a way you just need to keep with it, have patience, and never give up. My project had several bumps and times where I had to back up and start over again. But in the end I was successful and made my sick looking hockey stick.
