The final rotation is about using Adobe Illustrator to create a vinyl decal that is no greater than a 12 X 12 space. We have to use a least three different color in our decal. Here is what I did.
DECAL
|
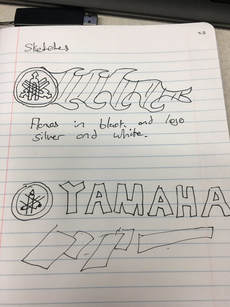
Step 1 (sketches)
The only thing I haven't done yet that is a big part of me is snowmobiling. So I started sketches of my favorite snowmobile company and tried to make as cool as possible.
|
Step 2
So I found some logos on the internet and and created them into vector images. I added the cool bars on the bottom for looks and then added big YAMAHA letters to the right of the logo. All this was done in Adobe Illustrator. We didn't have the right blue that the logo usually has so I am going to use black, grey and white. 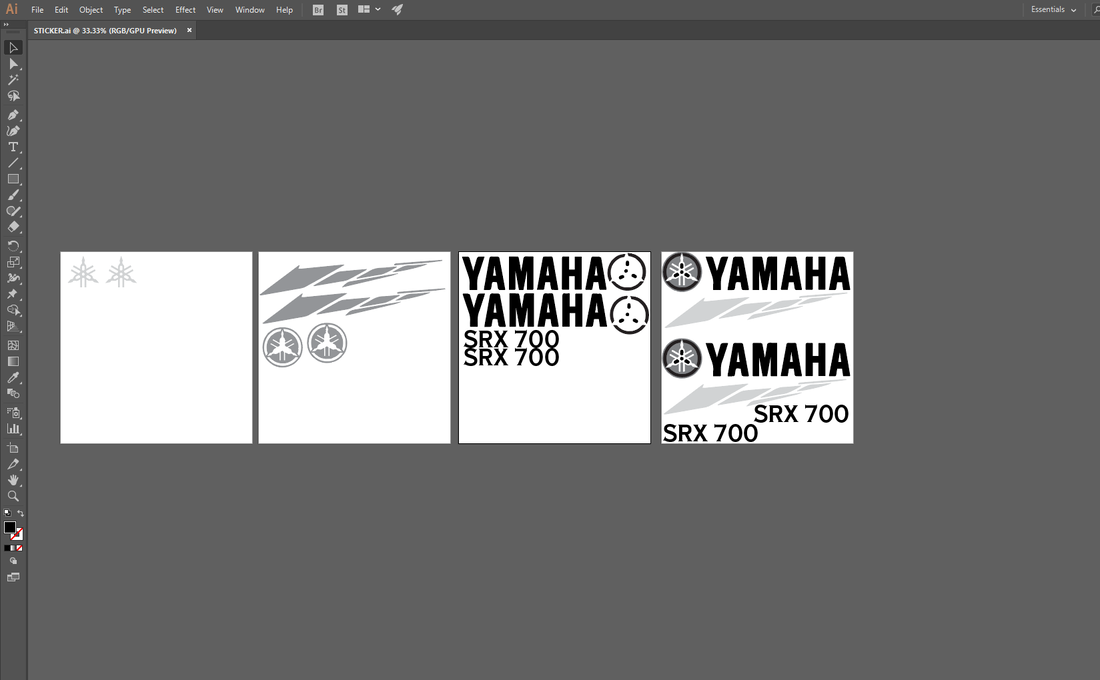
|
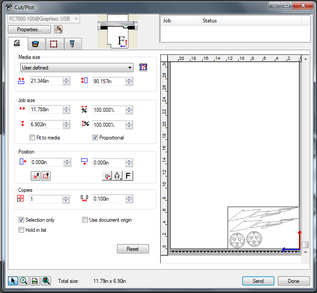
Step 3
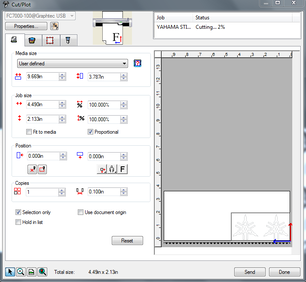
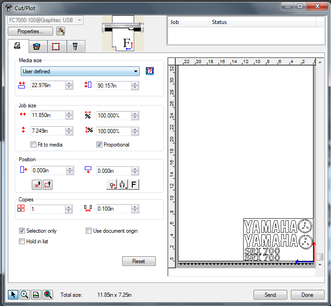
After I split all the part into its colors I then downloaded the file to a USB and went to the cutter. I had to set up the cutter three time with three different designs and three different colors.
After I split all the part into its colors I then downloaded the file to a USB and went to the cutter. I had to set up the cutter three time with three different designs and three different colors.
|
|
|
Final Product
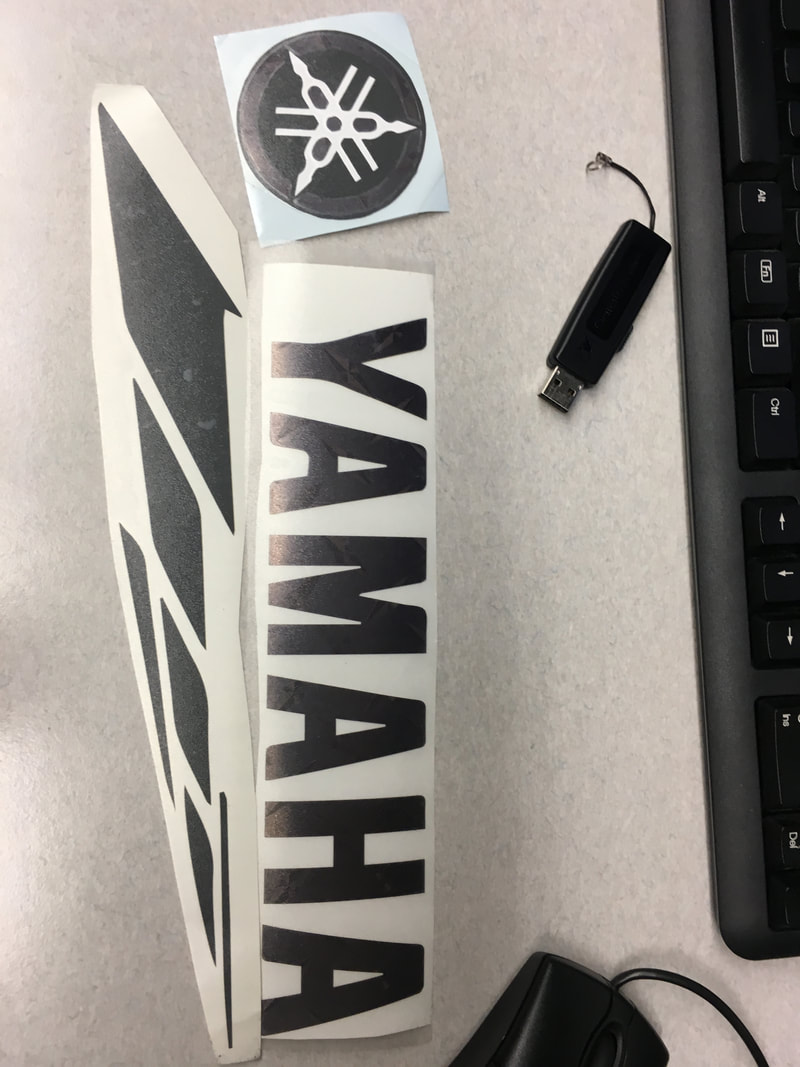
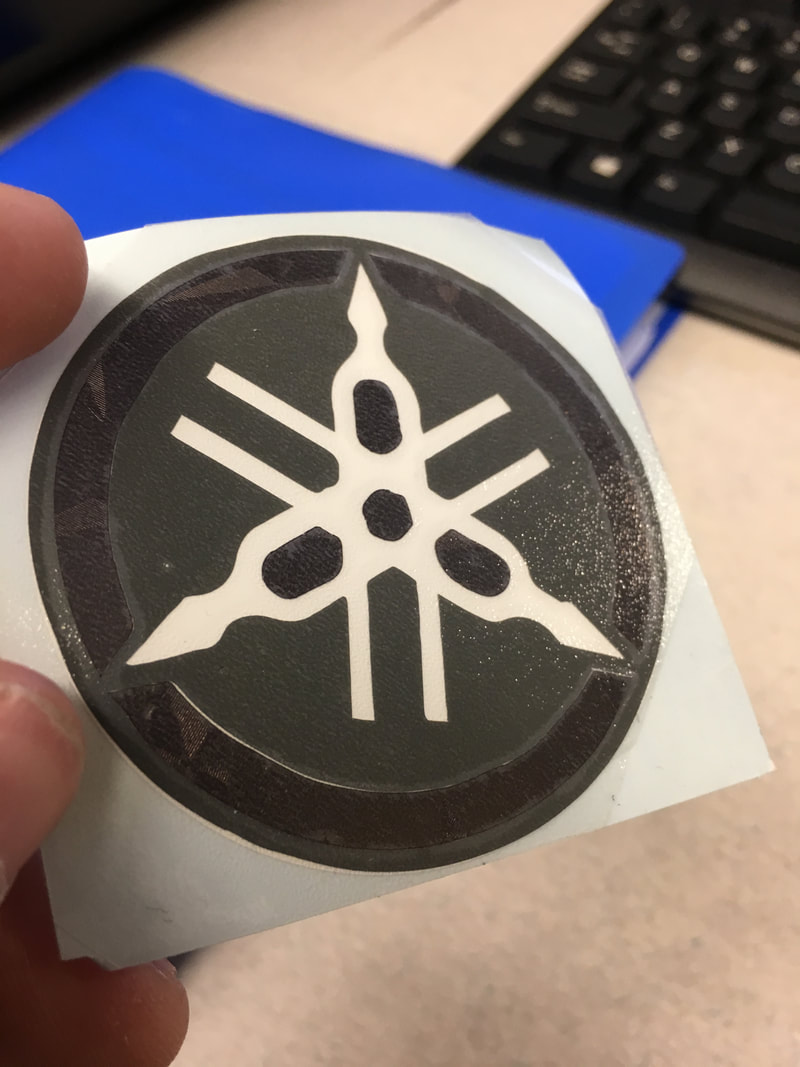
I used dental tools to take out the scrap pieces and used transfer paper to move the logos onto each other for the final product that looks awesome.
I used dental tools to take out the scrap pieces and used transfer paper to move the logos onto each other for the final product that looks awesome.
|
|
I don't have a picture of the decal on something because I'm giving the decal to my dad for his birthday to put on his trailer. Someone ran into his trailer and there is a small dent. I was hoping he could cover up the dent with this cool decal. I learned a lot in this rotation. I got a better understanding how to layer decals to make a better finished. I also got a better understanding on how the vinyl cutter works and how I can switch thicknesses of vinyl.
