This rotation has three projects in it. The first one is to create a front and back note book cover. The second was to engrave a design onto a water bottle. Lastly was to download a thing a verse file and create a cardboard object.
NOTEBOOK
Step 1 (Sketches)
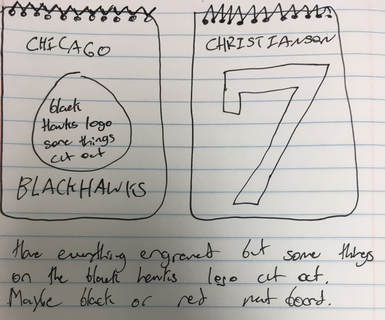
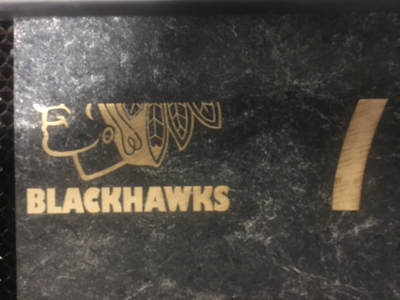
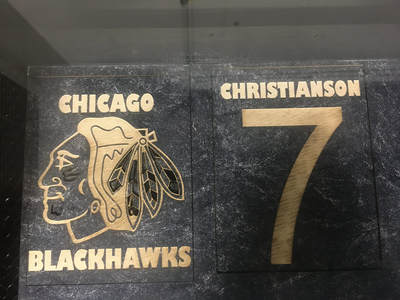
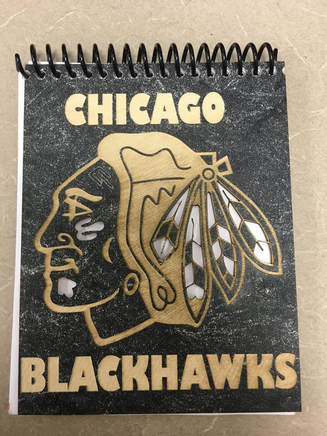
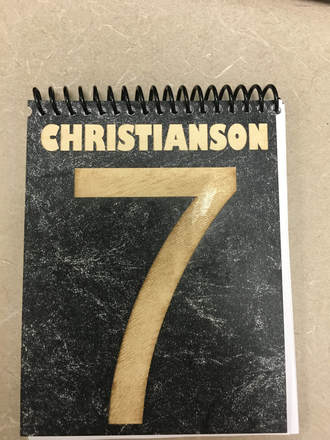
I wanted my note book to be unique and also have things in it that I like. So I choose to put my favorite hockey team logo on the front cover. Most of it would be engraved and some small part cut out so it had some contrast. The back would be my favorite hockey number and my last name above it. I wanted the notebook to almost be like a jersey with the teams logo on the front and the hockey player on the back.
I wanted my note book to be unique and also have things in it that I like. So I choose to put my favorite hockey team logo on the front cover. Most of it would be engraved and some small part cut out so it had some contrast. The back would be my favorite hockey number and my last name above it. I wanted the notebook to almost be like a jersey with the teams logo on the front and the hockey player on the back.
Step 2
I used Adobe illustrator to create my notebook cover. I put the black hawks logo on the front and I made it most of that will be engraved and some little pieces will be cut out to have some contrast. I put my name and number on the back. 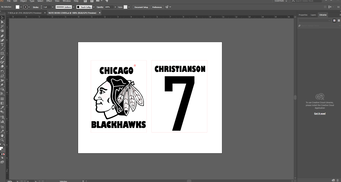
|
Step 3
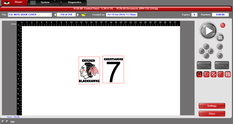
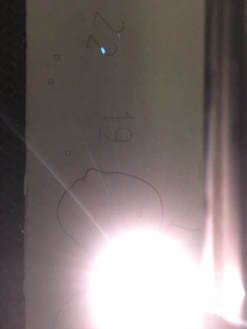
This step was setting my note book cover up on the laser. I picked out a cool black color mat board to make my cover out of. I used the tools to Aline the the image onto the mat board.
|
Step 4
Once I pressed the play button on the computer the laser went to work engraving my sick notebook. It took a whopping 15 minutes to finish , but it was totally worth it.
Once I pressed the play button on the computer the laser went to work engraving my sick notebook. It took a whopping 15 minutes to finish , but it was totally worth it.
|
|
Final Product
|
|
WATER BOTTLE
|
Step 1 (sketches)
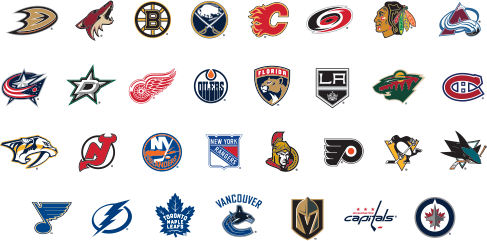
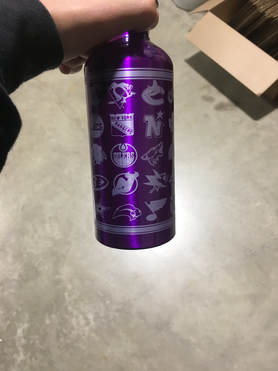
I took me about half a class to think about what I wanted to put on my water bottle. After many ideas I choose to put all the NHL hockey team logos and some of my favorite college and junior teams too.
|
Step 2
This step was very very long. I had to find every team and copy and paste the logos and make them the best they could. I had some room on the to and bottom on the picture so I put some cool lines above and below. 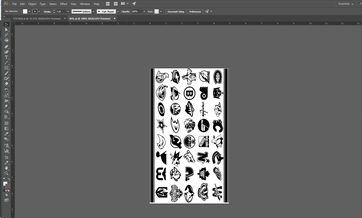
|
|
Step 3
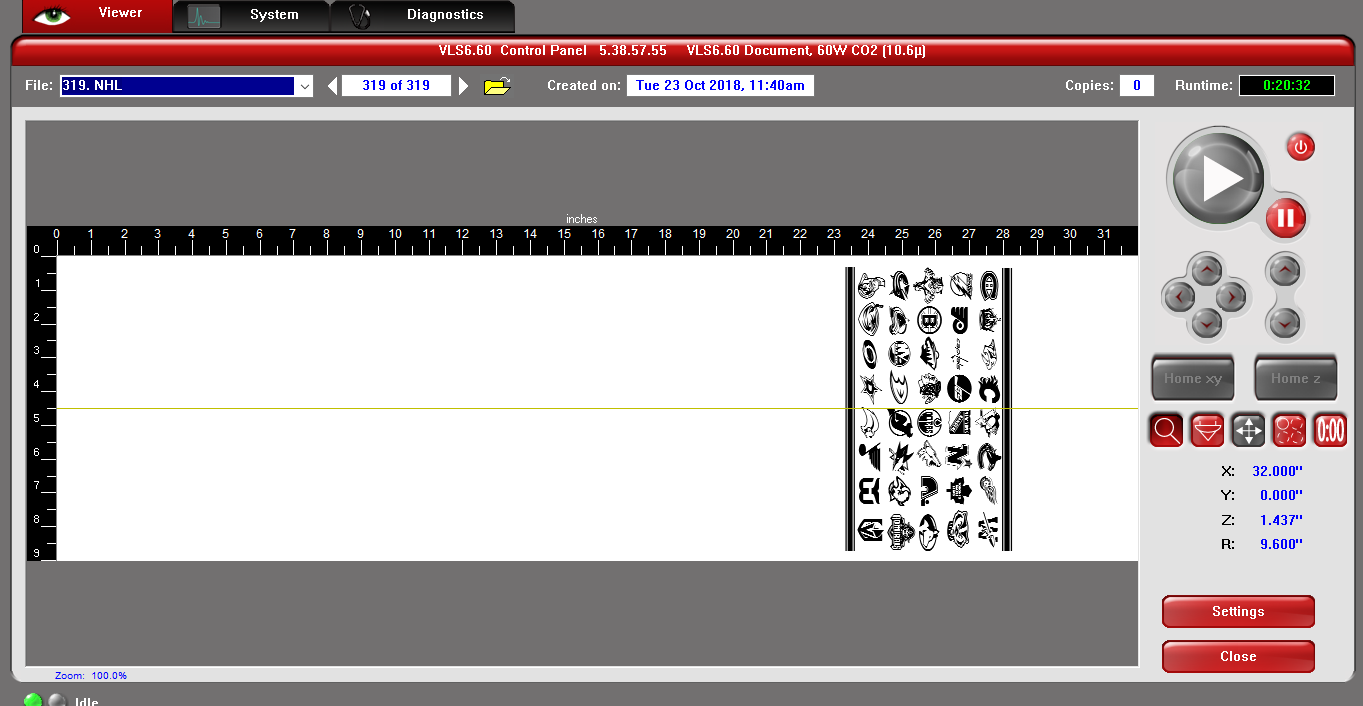
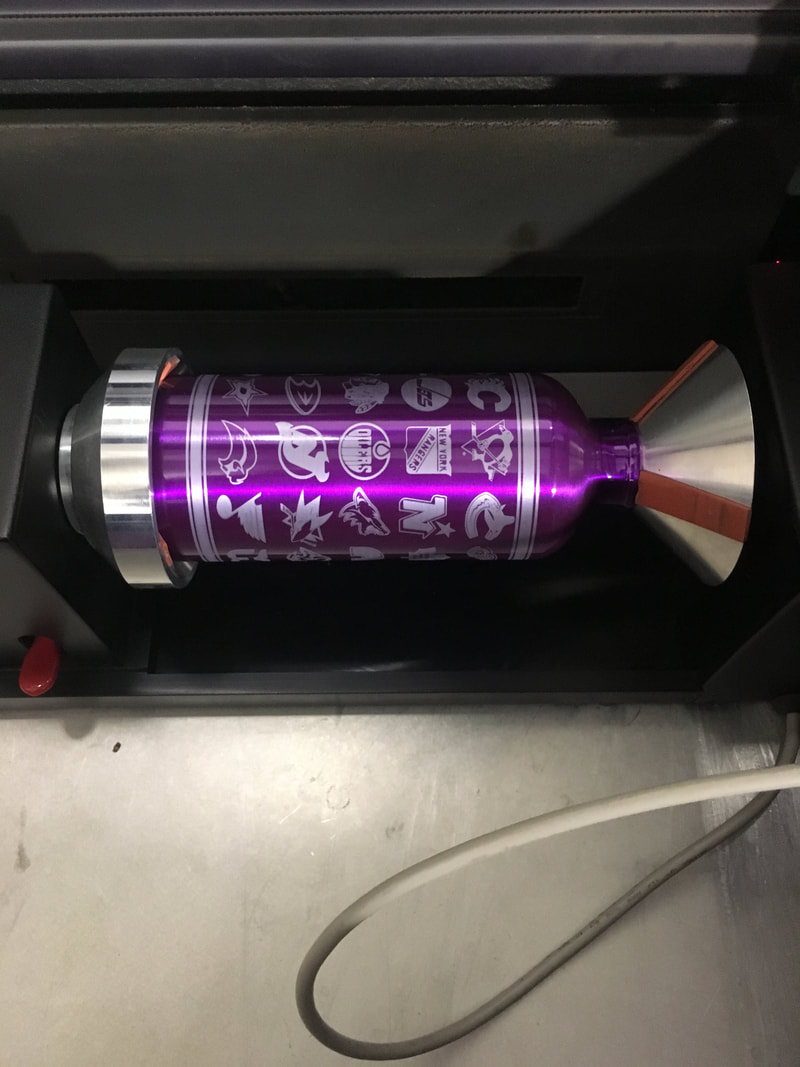
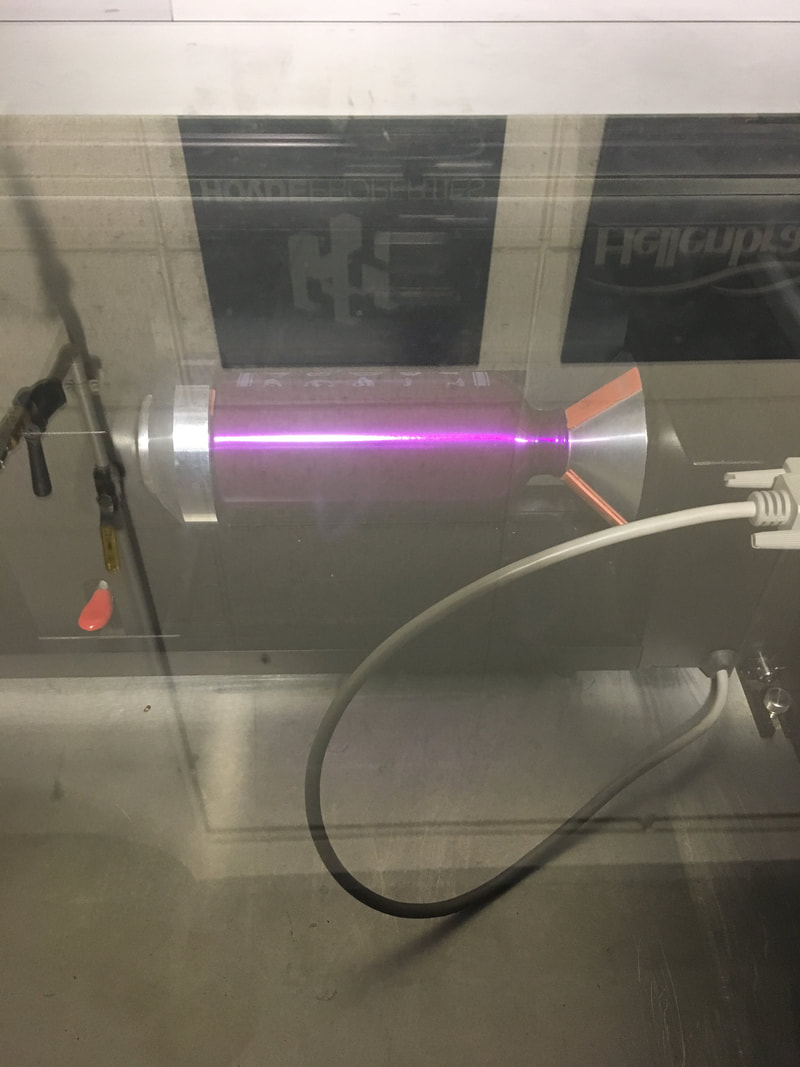
After I was done in adobe Illustrator creating my sick design I went to the laser got it uploaded to the laser. Then I changed out the laser so it can hold a water bottle and pressed play. |
Step 4
These are some pics of the laser going to work engraving every NHL hockey team logo by logo. This process took about 22 minutes. |
|
|
|
|
FINAL PRODUCT
T-REX
|
Step 1 (Research)
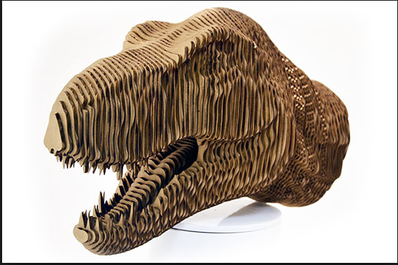
I first saw this amazing T-Rex head above the lasers on a shelf near the water bottles. Right as I saw it I new I needed to create one of my own. So I went straight to thing a verse and found a file to download and boom my own T-Rex to build.
|
Step 2
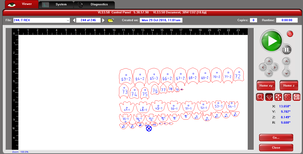
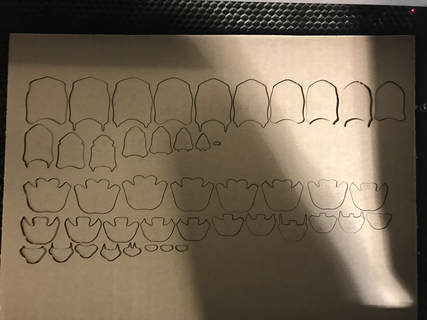
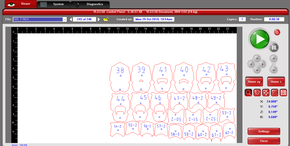
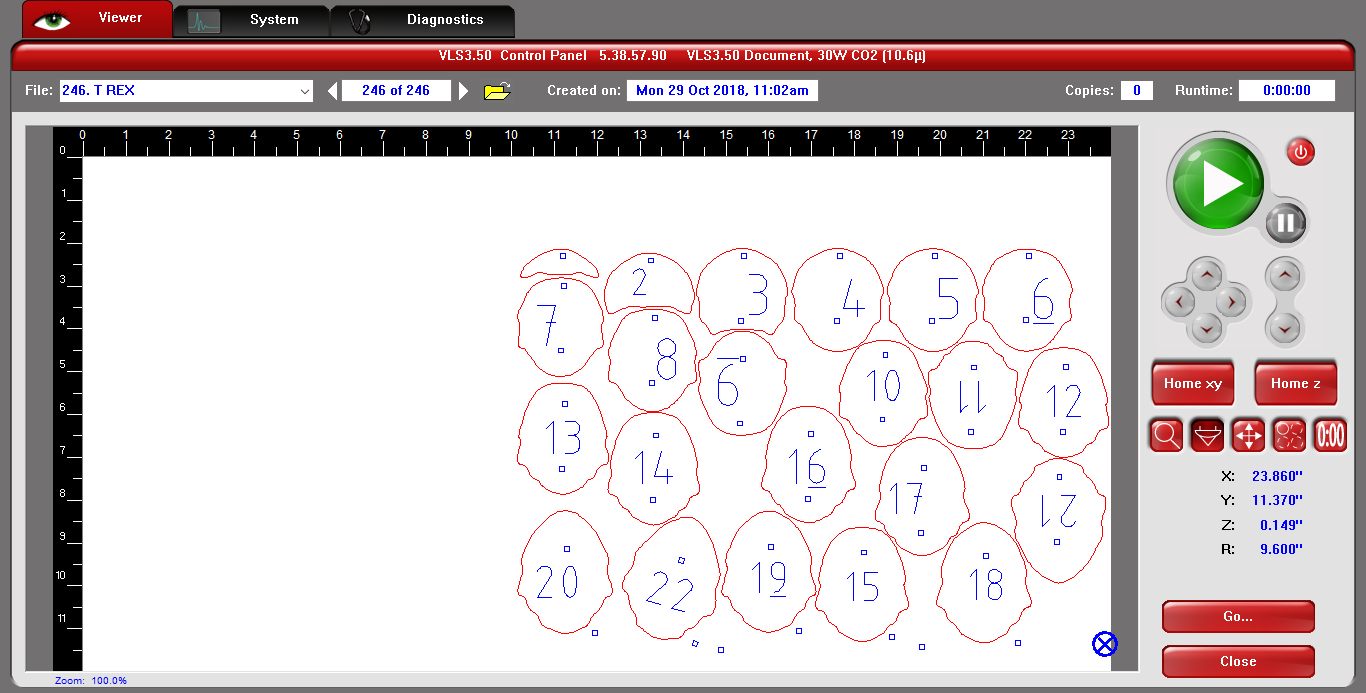
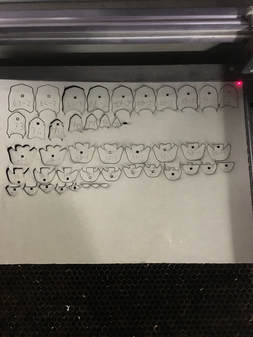
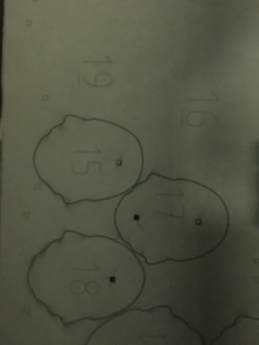
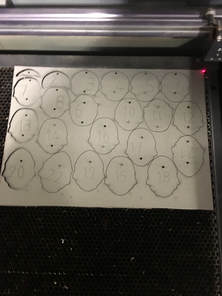
So once I got my own file I uploaded to Adobe Illustrator. These dinosaur cut outs were massive so I had to shrink all the pieces all at once to a reasonable size to be cut out of cardboard. I had to split up the pieces into four 14X10 cardboard pieces and I marked everyone with a number so I know what one goes on top of what. 
|
|
Step 3
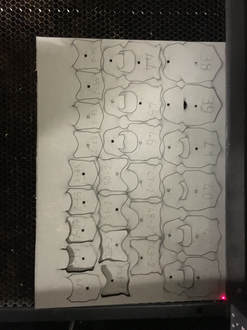
Once I got everything done on Adobe Illustrator it was off to the LASER. Once I set up the laser and got the cardboard piece in I arranged the T-Rex pieces onto the board. I did this four times because there are four sets of pieces to complete the T-Rex. 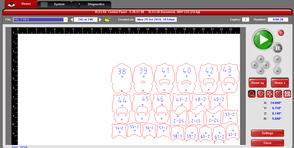


|
Step 4
After I got everything arranged on the computer I pressed play and watched the magic happen. Here are pics of the pieces when they were cut out.
|
FINAL PRODUCT
|
|
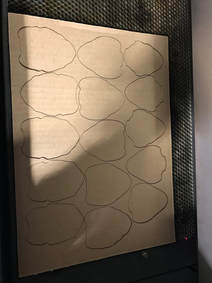
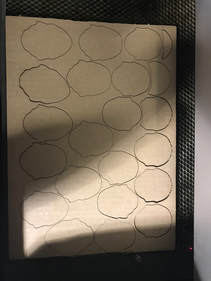
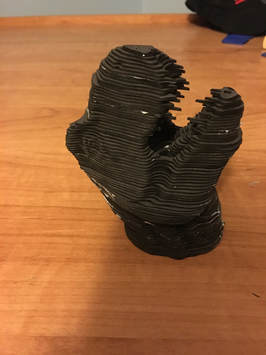
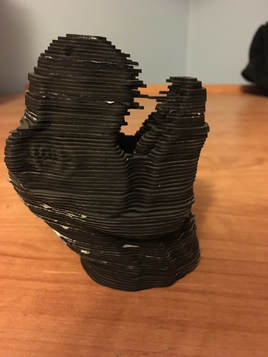
Right after I got all the pieces I realized that I screwed up. When I shrunk the pieces I totally forgot that the original needed each piece to have the thickness of cardboard. So in the end the T-Rex was smaller width wise but the same height as the original. This made an outcome of making my creation looking more like a rat than any kind of dinosaur. So I made a new one and instead of using cardboard I choose to use mat board. This material was way thinner, so I hoped for the best and did the whole cutting out process again.
Better Step 1
I had to cut out four 14X10 pieces of mat board to fit the designs and then I did the same exact thing as before. Putting each piece in the laser and making sure everything was going to fit and pressed play.
I had to cut out four 14X10 pieces of mat board to fit the designs and then I did the same exact thing as before. Putting each piece in the laser and making sure everything was going to fit and pressed play.
|

|

|
|
Better Step 2
New photos of the laser doing its job cutting out and engraving the numbers like before. Right after came a long time gluing and finally boom.
New photos of the laser doing its job cutting out and engraving the numbers like before. Right after came a long time gluing and finally boom.
|
|
|
|
|
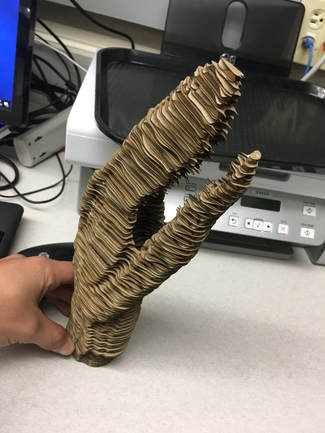
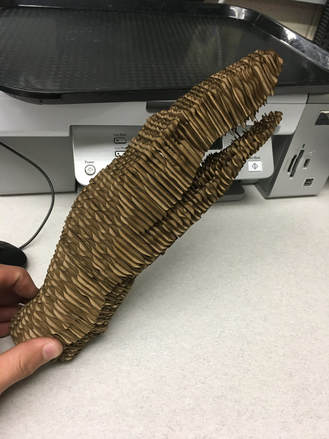
The Better Final Product
|
|
I got to make some very cool things that and having fun doing it at the same time. Software wise I did not learn anything new. But I did learn to always double check any major changes you do to your project because if you do not it will bite you in the butt. Above is a perfect example of what not to do and shows why you should always double check what you are doing so you do not goof up.
